In order to "Send mail as" from another Gmail account, you must first enable Google's 2-Step Verification (2SV) on the account you want to send mail from and use Google's App Passwords. If you want to send email from your UCSB account using your personal one, then this is done in your UCSB account settings.
Once 2SV is enabled, follow these steps from that same account:
1. Click your Google Account profile icon, located to the upper right of your Gmail screen
2. Click Manage your Google account
3. Click Security from the left navigation bar
4. Under How you sign in to Google, click 2-Step Verification
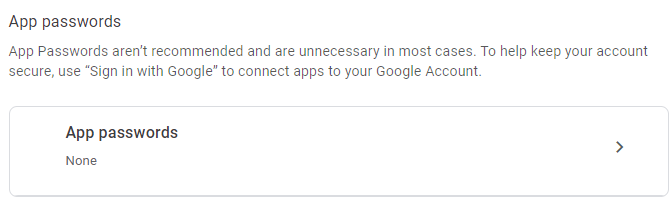
5. Then scroll down to the App passwords section at the bottom of the 2SV page and click the right-arrow >
6. On the next screen, enter your Connect email account password
7a. For Select app, select Mail
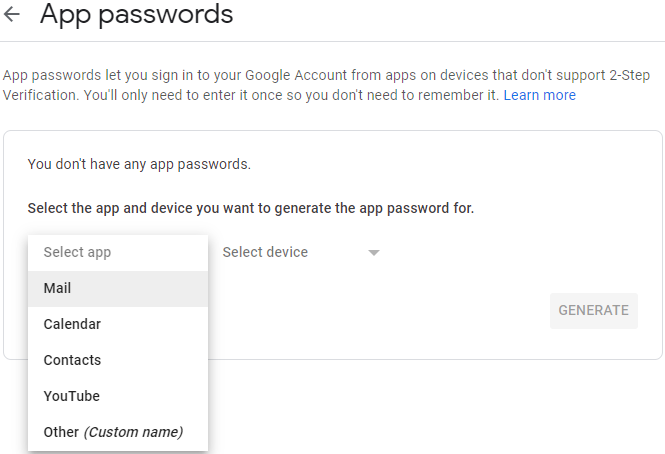
7b. For Select device, select Other and enter a description of your choice (e.g., Send Mail As)
8. The App Password is the 16-character code in the yellow bar on your device
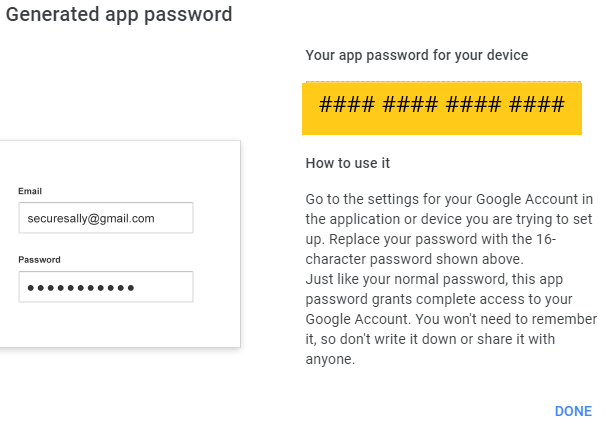
9. Copy the password to the clipboard. You will not need to remember it so do not write it down or share it with anyone.
10. Click Done
Using a web browser, login to the email account you want to use to Send mail as from another email address. If you want to use your personal Gmail account to send mail as your UCSB email address, sign into your personal Gmail account and follow these steps.
1. Click the gear icon in the upper right corner and select See all settings
2. Click the Accounts tab
3. In the Send mail as section, click Add another email address
4. Enter the name of the account you want to send mail as and leave the box checked for "Treat as an alias". Click Next Step

5. Paste or enter the 16-digit App Password in the Password field that you created in Step 8 above. Leave the box box checked for "Secured connection using TLS". Click Add Account.

6. You will be prompted to confirm by going to the email account that you are requesting to Send mail as. Click the link in the email and Confirm. Go back to the verification window and click Verify.
7. You can then send mail as the other account in the From field of a message by clicking the down-arrow and selecting the other account.

8. You can also set the other email address as your default address in the Send Mail As section of the Accounts tab in your Settings, by clicking the blue make default link to the far right of the email address.
